Art Journal Pages…

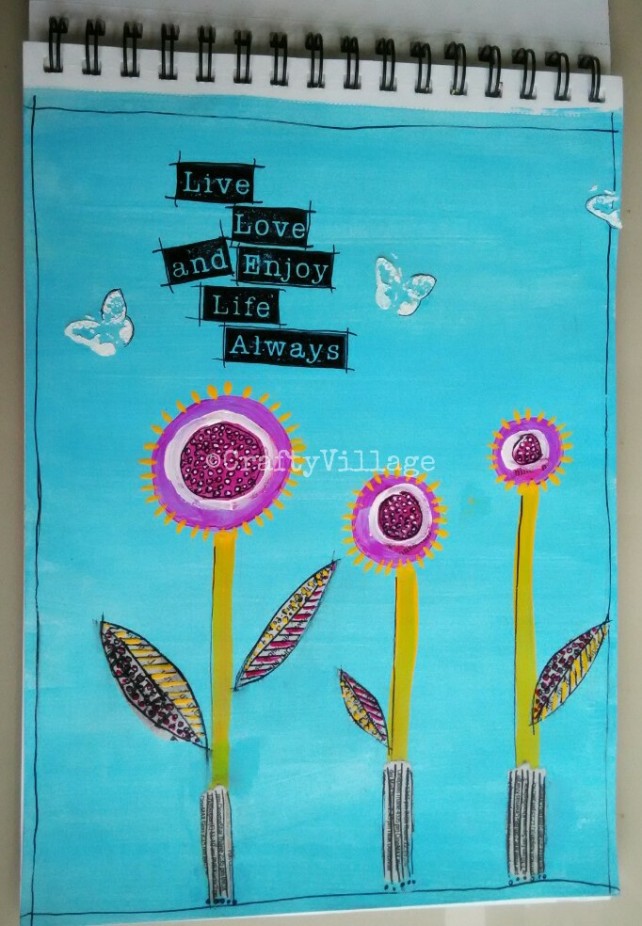
I do not get time these days to take commissions but I love art in any form.  Since I was missing it big time I started making art journal…  Just to keep my soul fed.  Here are some pages to give you glimpse of what I am up to.

image

image

image

image

Hope you like it.. 

Keep crafting and stay blessed

Ciao,

Sakhi

Wreck This Journal: My Version

I saw this super cool journal online: “Wreck This Journal” by Keri Smith. I liked it so much that I wanted it but did not want to buy it, instead I went ahead and made one for myself and a friend. Have a look…

image

I started with this ordinary notebook from Classmate with plain pages

image

I decoupaged the front and the back cover pages with the pieces of newspaper (arrow is to show decoupage)

image

I painted even the inner cover pages (back and front) with acrylic colours (arrow to show the painted page)

image

These are just the sample pages of the journal. I have used some of the ideas from the original journal but I din’t like a lot of them too. So came up with my own version. It was tough to do that but was fun too 🙂

image

This is the back cover page, decoupaged 🙂 And even though this journal was suppose to be for me and a friend, I couldn’t help but put my trademark there. Looks so professional, hun?? 😉

It took me almost a week to complete both these journals. I posted one to my friend today morning. Hope she likes it. I will have to make one for myself again since Cub liked mine so much that she flicked it away… 😀

Hope both the girls enjoy journalling and let themselves free with imagination.

Ciao…

~Sakhi

Coptic Stitch – Handmade Journal

This is my first attempt at coptic stitch book binding. I think though I can definitely improve on my skills, I still liked the results. What say? 🙂  🙂

Let’s see how I went about it…

Steps:

1. A4 size papers, folded into half

2. Make pin holes in the fold at equal intervals

3. Coptic stitch will bind these papers into a bound journal (the link to coptic stitch is provided for your reference, though I have learnt from somewhere else!)

4. Prepare your journal cover (I used a card board, a foam sheet and fabric)

5. Attach these covers to the bound journal

6. I have used a satin ribbon to give extra jazz (it is purely optional)

7. Voila… it is ready 😀


I am happy the way it looks. Now it will be gifted to a dear friend 🙂

Ciao, till we meet again 🙂

Love,

Sakhi